
Welp! Our flight to Antarctica has been delayed enough days that we’ve begun to call our hotel room home. The Indian restaurant and Filipino bakery next door know us by name, we’re running out of non-polar clothing to wear, and Rowan and I have no new stories to tell each other. But in between days marked by PCR tests we’ve also gotten to take advantage of the extra time to prep before lights, camera, action!
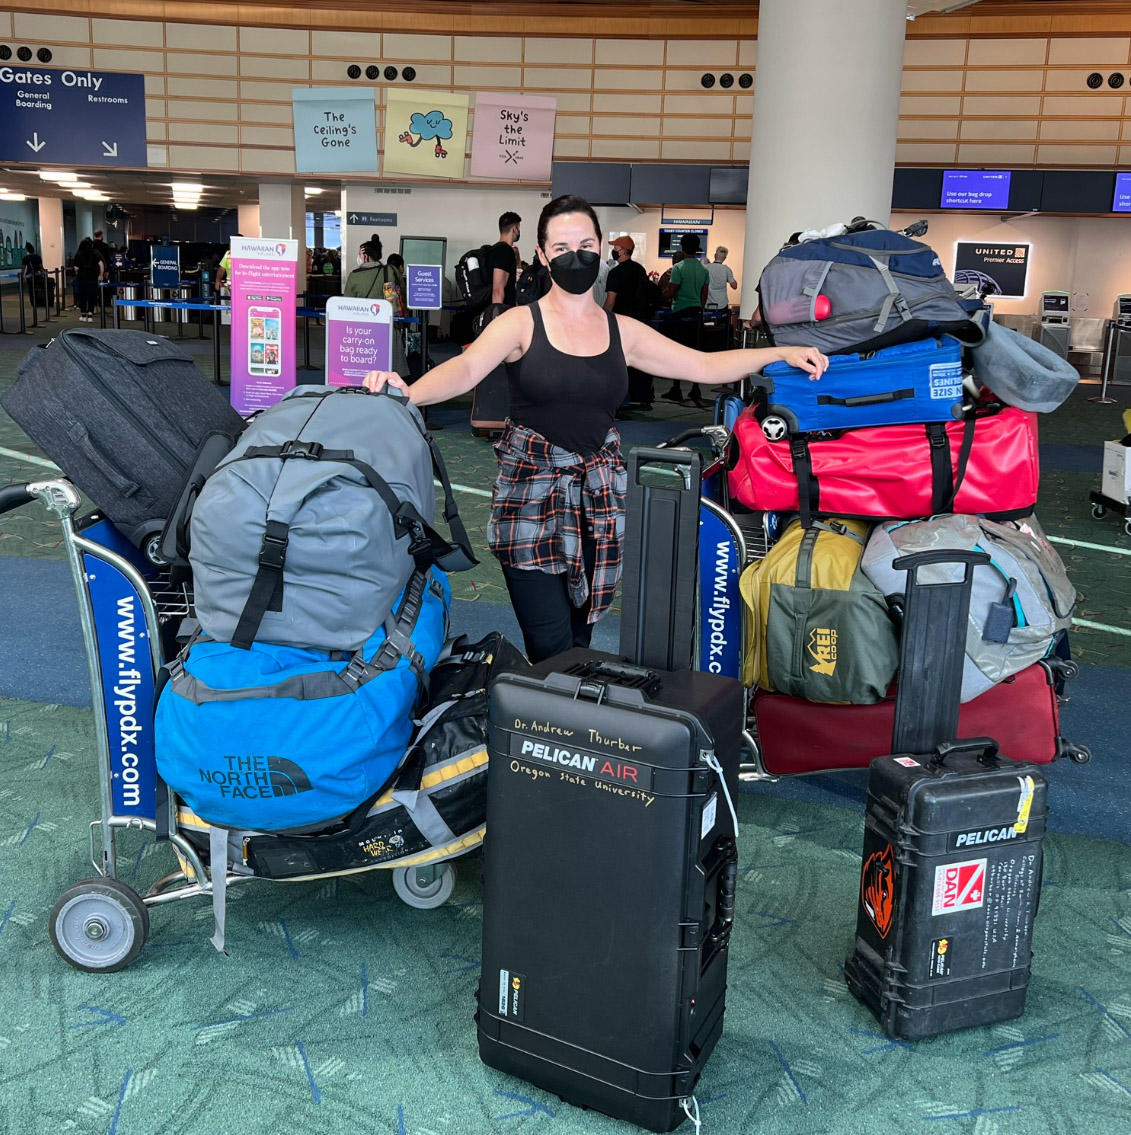
Remember all those bags we packed? Four of them were mostly full of gear for our SEVEN cameras (that’s not even counting our two drones). That includes their underwater housings, batteries, chargers, lights, maintenance equipment and more doodads than you can imagine. Taking all the footage we’ll show you in future blog posts takes a lotttt of gear. Although we’ve all had a chance to practice using them during our prep dives for Antarctica back in the Pacific Northwest (prep pics*), there’s always more to learn. Yesterday we had the first warm sunny spring day since our arrival in Christchurch, NZ and jumped on the opportunity to take the cameras for a spin.

Although I’ve always loved taking pictures, before beginning to prep for this trip my expertise level ended at “iPhoto Expert”. F-stop who? Over the last year or so, it’s been so much fun to start thinking about all the different components of an image you can control on a camera. Things like: Do you want the background behind your subject to be blurry – how blurry? How bright do want your photo to be – what about if you’re using a separate light for flash? Is your picture really representing the colors in front of you?
All those questions get even trickier under water, especially when what’s in front of you doesn’t even look like what’s in front of you. When you’re scuba diving, it’s important to “white balance” your photos. That is, to tell your camera what’s actually white so that it can adjust for the colors (mostly red) that have been absorbed by the water above you. Without that, no pretty pink sea stars.

Once we got back to our hotel, I got to work in another world that was pretty foreign to me until recently – Adobe Lightroom. I had messed with Photoshop on my Mom’s computer as a kid, taking pictures of Mr. Potatohead and trying to make him skinny or voluptuous. Unfortunately, as talented as I may have felt back then, it’s safe to say my skills were lacking. After a few YouTube videos I’m a pro! Just kidding, but it has opened the door to a whole new realm of photo-editing.
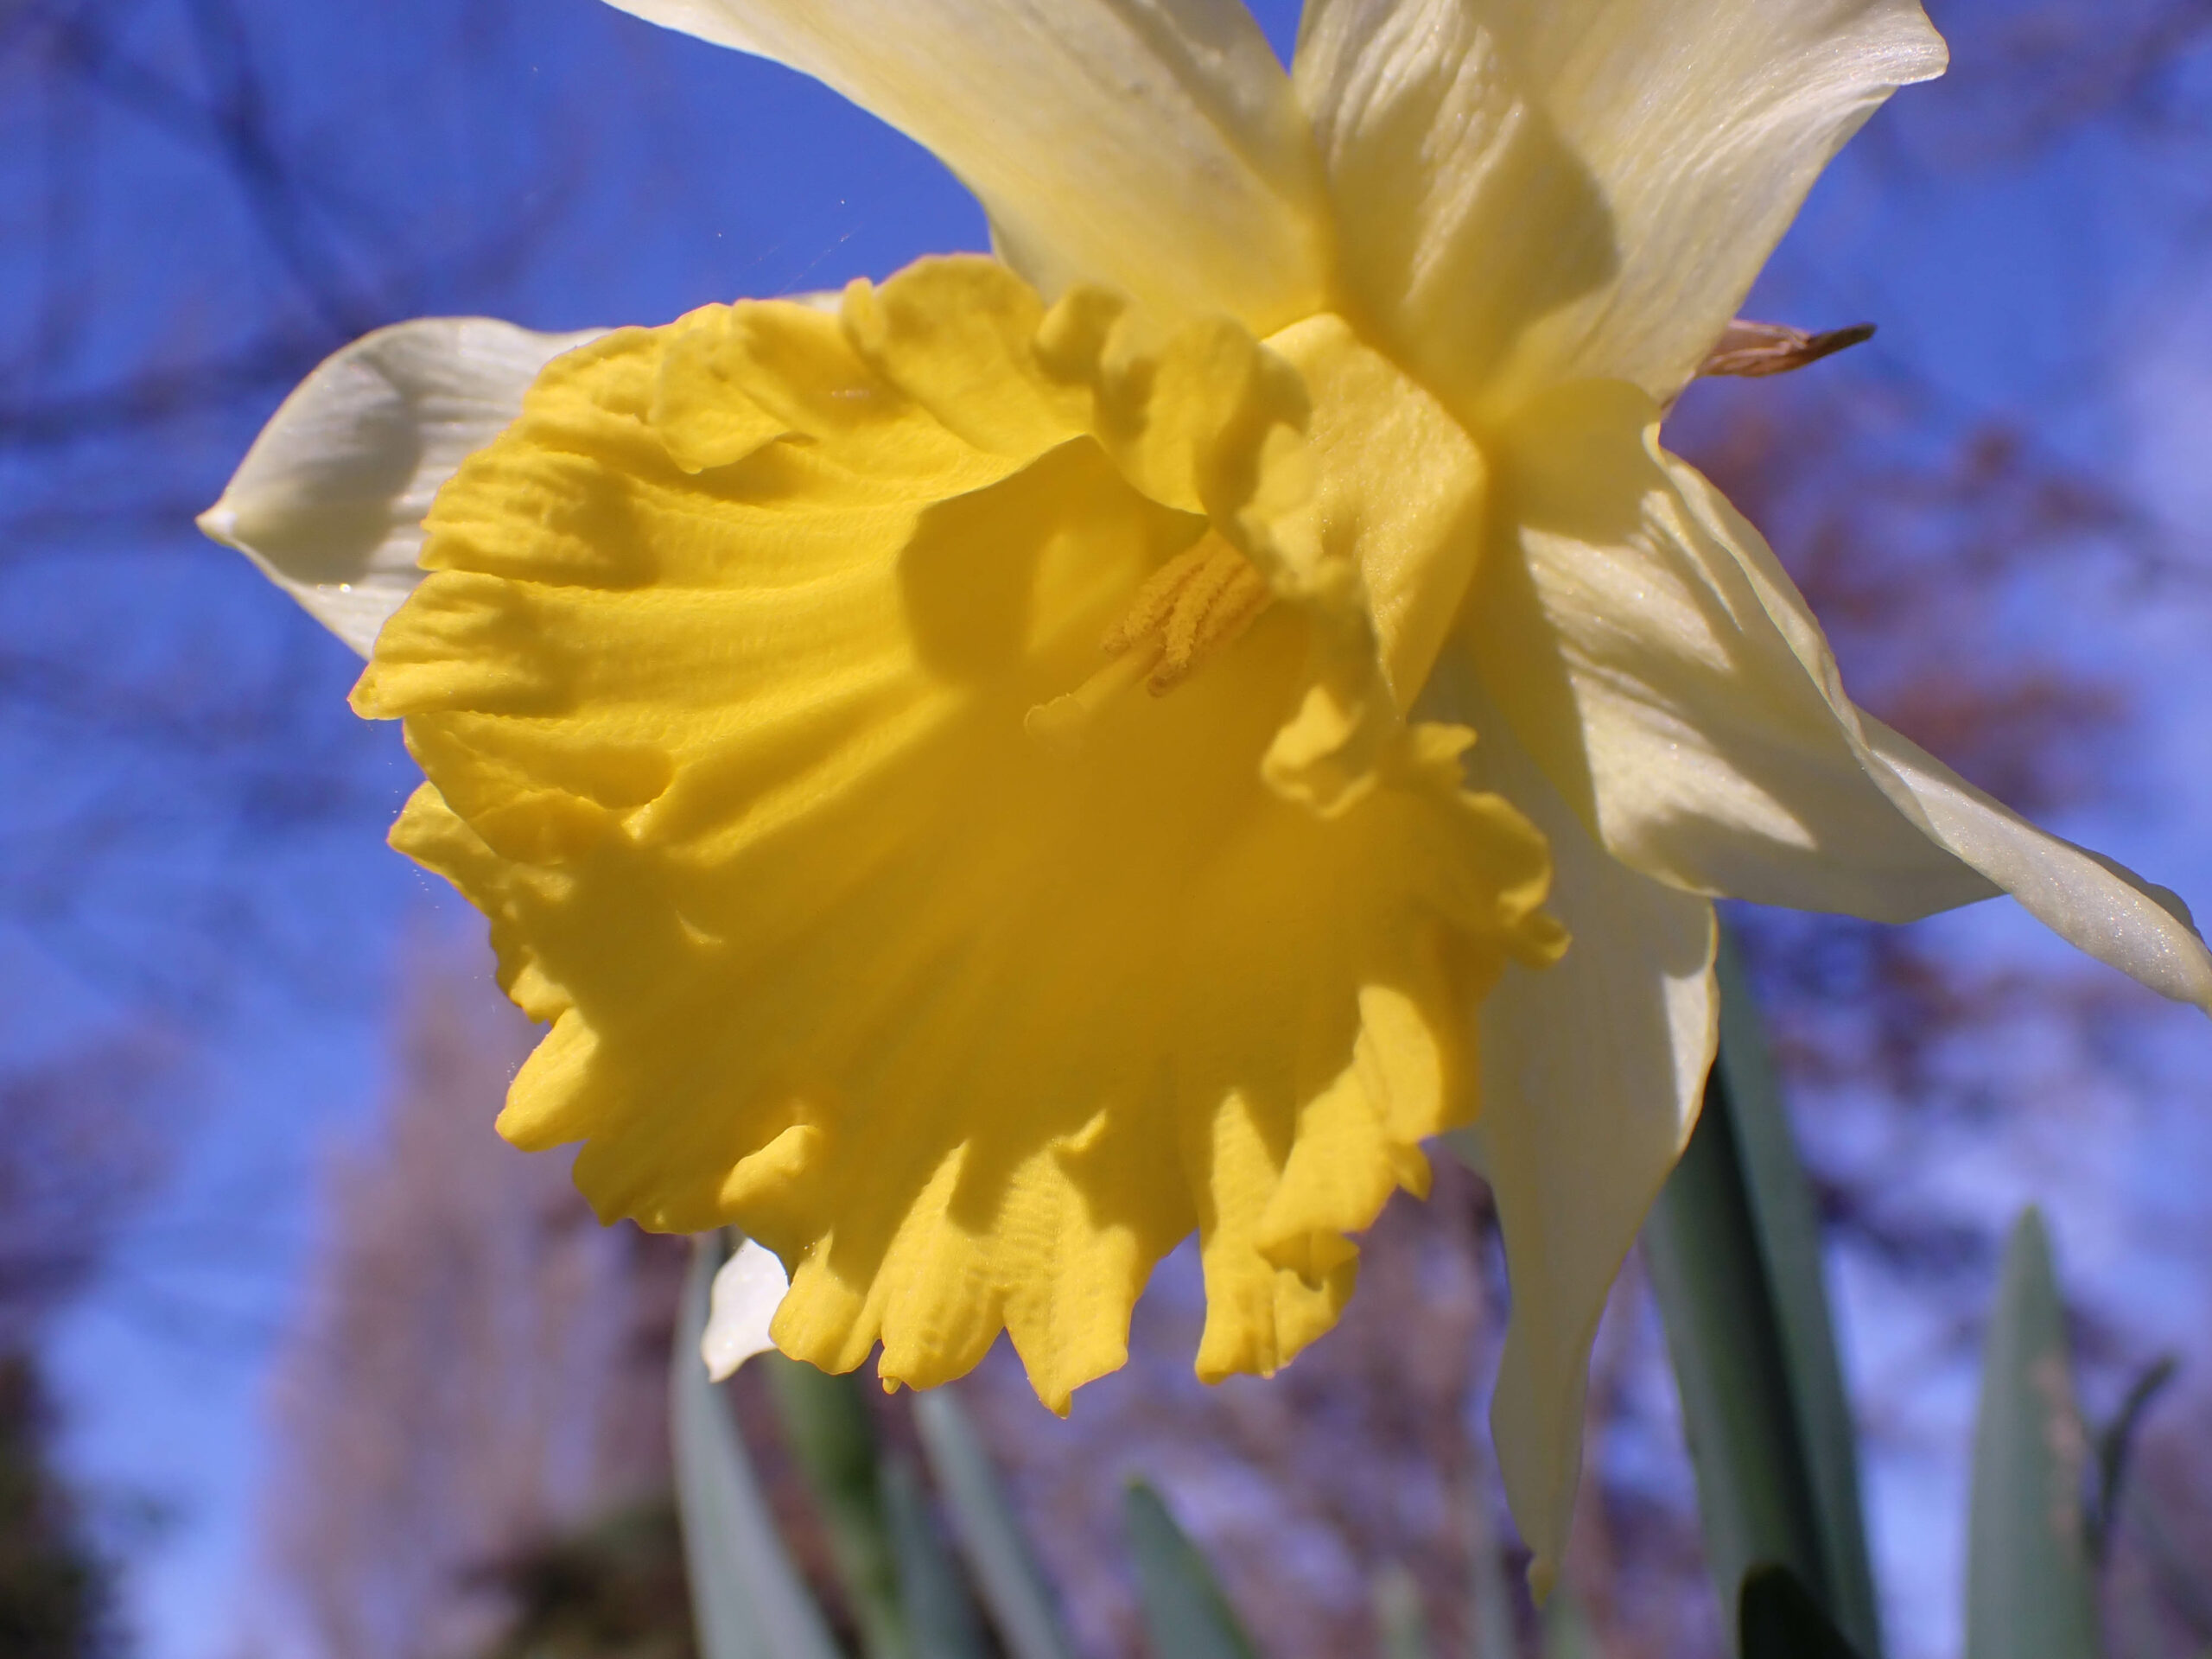
After a day of taking 200 mostly “meh” photos, parsing out my 20 favorites, and fumbling around in Adobe – I present to you the following images. Yes, I really like flowers.

It’s wild to imagine that the next time I take a picture on this camera it’ll be from below the flowerless Antarctic ice, using a hand encased within 3 layers of gloves snapped onto a drysuit. A drysuit that will seal me into me into what (I hope) will be a water-tight, albeit somewhat chilly, oasis from which to observe the alien seascape around me. Despite all our training dives, it’s still hard for me to imagine what that will feel like, but I can’t wait to report back and show you what we find!
Stay tuned for future blogs, and remember, if my pictures look 25% as good as Andrew and Rowan’s it’s all my camera’s fault and has nothing to do with the operator.
Until next time!
Lila